Auto-Embed groups enable users to automatically embed personalized experiences into a webpage without requiring any help from their CMS development team.
The embedded group serves as a placeholder for a div on a specific location on a webpage. Once the group is set up it can display an embedded personalization unit on the page - content recommendation unit, campaign or orchestration offers.
Embedding the group can be done on one specific page, or across multiple pages at once (for example: all Blog pages).
You can use Auto-Embed Groups for embedding promotion campaigns or offers, content recommendation units or ContexTiles.
For any questions on how to implement auto-embed groups, please contact support@trendemon.com.
Setting Up an Auto-Embed Group:
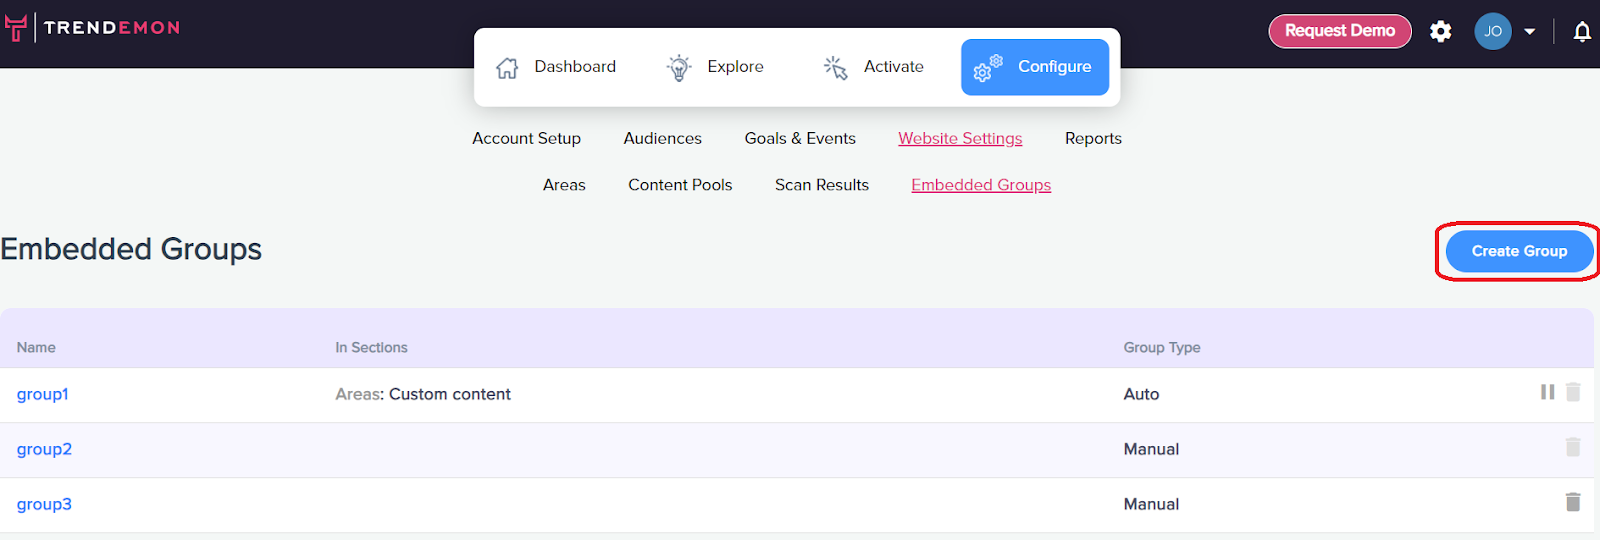
To create a new auto-embed group navigate to Configure → Website settings → Embedded Groups, and click on Create Group:
Select “Auto Embed '' as the group type, and configure the embed rules to select the placement of the div on the web page. Settings options include placing the div before or after a specific paragraph, CSS selector or a container. Once the rules are all set up, you can preview the location of the embedded group on a specific page, and make adjustments accordingly.

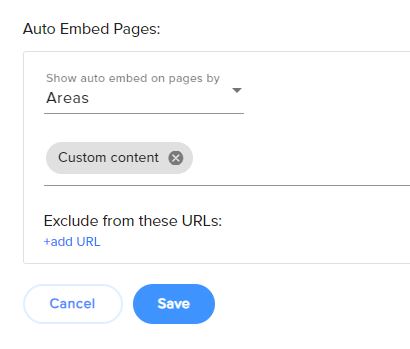
The next step is selecting the pages in which you want to embed the group. You can select website areas or specific page tags. You also have an option to exclude pages, and remove the div from appearing in them.
Using Auto-Embed Groups to Display Personalized Experiences:
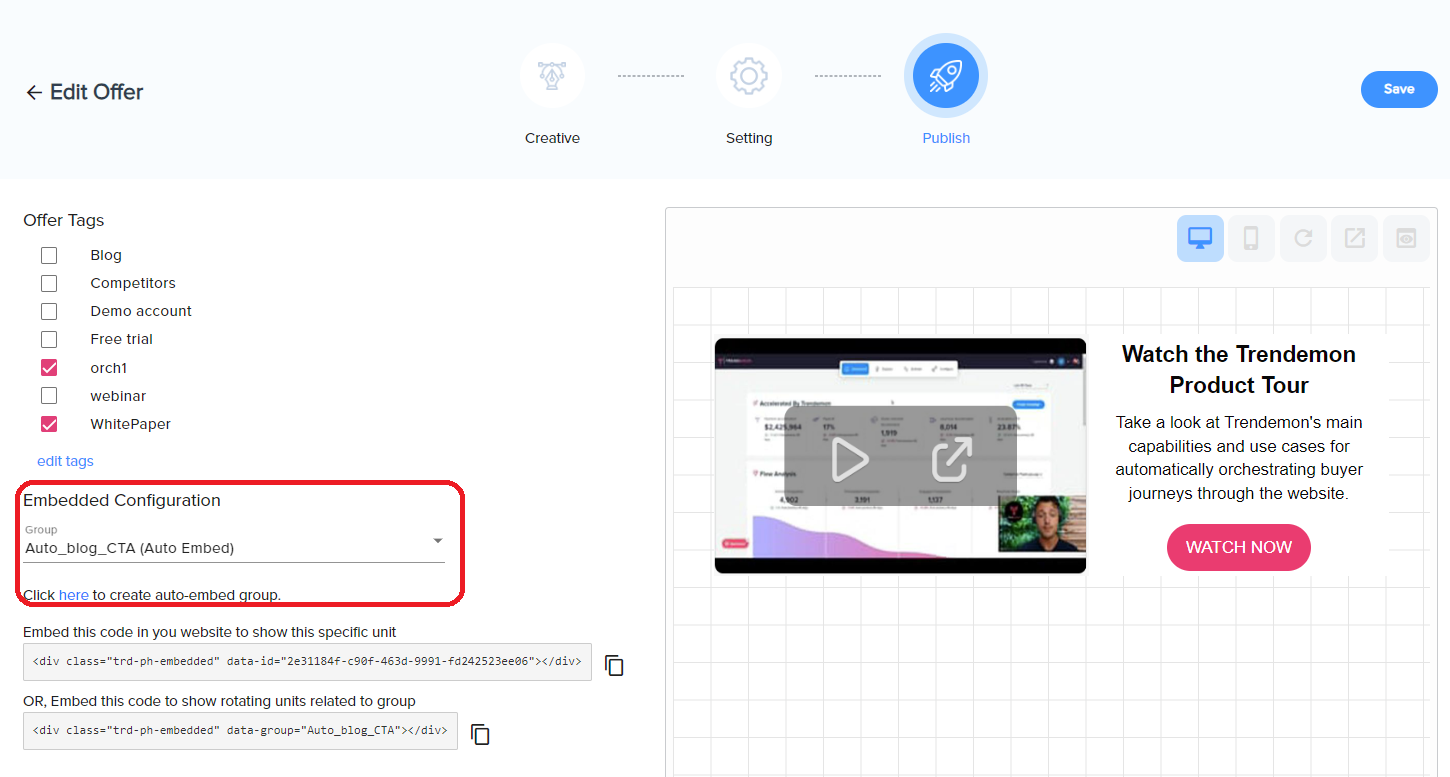
The next step is to associate the auto-embed group with a personalized unit, so that the unit will be displayed on pages that contain the group div. You can use auto-embed groups with the following embedded units:
You can find the Embedded Configuration section under the Publish screen of the campaign / offer. Select the auto-embed group from the drop down list, or create a new group. Once the group is selected, the unit will be displayed on pages according to the location configured in the auto-embed group.